Building an efficient rainwater storage tank on your farm not only reduces dependence on external water supplies but also promotes sustainable agriculture and cost savings. By collecting and storing rainwater during wet periods, farmers can ensure a reliable irrigation source for crops, livestock, and even cleaning tasks. This guide covers essential steps from planning to maintenance, ensuring your tank remains a durable and productive asset.
Planning and Design Principles
Before breaking ground, a solid plan is crucial. Thoughtful design maximizes collection efficiency and integrates the tank seamlessly into your farm layout.
Site Selection
- Catchment Area Proximity: Position the tank near existing roofs or a dedicated catchment surface to minimize piping length and installation costs.
- Ground Conditions: Choose a flat, well-draining spot to ensure stable support and prevent foundation issues.
- Accessibility: Ensure easy access for cleaning, inspection, and potential repairs without obstructing farm operations.
Capacity Calculation
Accurately estimating required volume prevents oversizing (which wastes resources) or undersizing (leading to shortages). Consider:
- Average annual rainfall in your region.
- Total catchment area (roof or paved surfaces) in square meters.
- Water needs for crops, livestock, and equipment.
- Safety margin for dry spells or increased demand.
Design Features
- Inlet System: Incorporate leaf screens and debris traps to reduce contamination.
- Overflow Mechanism: Plan an overflow outlet that directs excess water away from the foundation.
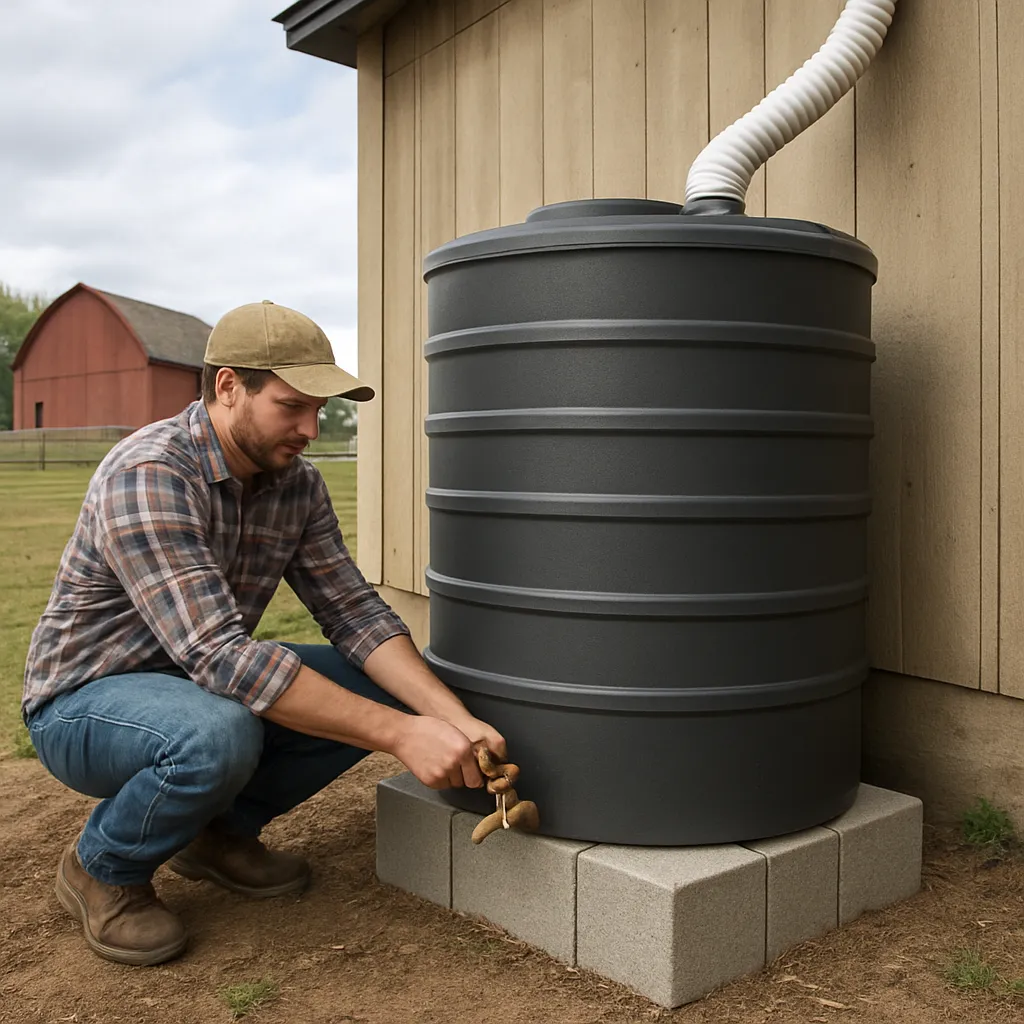
- Outlet and Valve: Include a sturdy valve near the base for easy water retrieval and connection to a pump or distribution lines.
- Access Hatch: Provide a secure yet accessible hatch for internal inspection and cleaning.
Materials and Tools
Selecting the right materials ensures durability and water safety. Depending on budget and scale, options range from prefabricated tanks to DIY concrete structures.
Tank Types
- Polyethylene or Polypropylene Tanks: Lightweight, UV-resistant, and available in various sizes. Ideal for small to medium farms.
- Galvanized Steel Tanks: Robust and fire-resistant, though prone to corrosion over time if not properly coated.
- Concrete Tanks: Long-lasting and customizable in size. Require more labor and skilled work but offer excellent temperature stability.
- Bladder or Liner Systems: Installed within a pit or metal frame. Flexible and discrete, suitable for limited space.
Required Tools
- Excavator or Shovels: For digging trenches or pits.
- Level and Measuring Tape: To establish a perfectly horizontal base.
- Concrete Mixer (if using concrete): Ensures consistent mixture for the foundation and walls.
- Pipe Cutter and PVC Fittings: For gutters and inlet/outlet connections.
- Drill and Masonry Bits: For securing brackets and attachments.
- Safety Gear: Gloves, boots, eye protection, and dust masks.
Construction Steps
Follow these steps methodically to assemble your rainwater storage system. Quality workmanship at each stage guarantees long-term performance.
Excavation and Foundation
- Mark Dimensions: Clearly outline the tank’s footprint on the ground.
- Dig Foundation: Excavate a pit about 10–15 cm deeper than the planned base thickness.
- Compact Soil: Use a plate compactor or hand tamper to create a firm, even substrate.
- Lay Foundation: Pour a reinforced concrete slab or use compacted gravel stabilizer to prevent settling.
Wall and Tank Installation
- Prefabricated Tank: Carefully lower the tank onto the foundation, ensuring it sits level. Attach base anchors if recommended by the manufacturer.
- Concrete Tank: Build formwork, place rebar according to engineering specs, then pour concrete in layers. Remove formwork once cured.
- Seal Joints: Apply appropriate sealant or mortar to prevent leaks along seams and pipe penetrations.
Plumbing and Inlet Setup
- Gutter Connection: Install a diverter on downspouts to channel water to the tank. Include a coarse mesh screen to block large debris.
- First-Flush Diverter: Optional device that discards initial runoff, preventing roof contaminants from entering the tank.
- Inlet Pipe: Fit a perforated end or spray head inside the tank to distribute water and minimize sediment disturbance.
- Overflow Assembly: Position the overflow pipe above the maximum fill level. Lead excess water to a safe drainage area or secondary storage.
Maintenance and Best Practices
Even the most robust tank requires periodic upkeep. Proper maintenance protects water quality and extends service life.
- Filtration Cleaning: Inspect and clean inlet screens, filters, and diverters every 3–6 months or after major storms.
- Sediment Removal: Drain and flush accumulated sediment from the tank bottom annually.
- Structural Inspection: Check for cracks, corrosion, or leaks. Repair promptly using suitable sealants or patch kits.
- Water Testing: Analyze stored water quality at least once a year, especially if used for livestock or produce irrigation.
- Pump Service: If using a pump, maintain according to manufacturer guidelines—lubricate seals, check pressure settings, and replace worn components.
- Winterizing: In colder climates, insulate exposed pipes and consider draining the tank below the inlet level to prevent ice damage.
Enhancing Farm Resilience
By integrating a well-designed rainwater storage tank, farms bolster their capacity to handle fluctuating weather patterns and water shortages. This system, once installed and maintained, becomes a cornerstone of sustainable farm management—ensuring crops receive consistent hydration, livestock maintain healthy drinking supplies, and operational costs remain under control. Whether you choose a modular plastic tank or custom-built concrete reservoir, following these guidelines will lead to a reliable, long-lasting solution tailored to your agricultural needs.