Maintaining a thriving garden or farm begins with safeguarding plants against unwanted invaders. An effective organic pest trap can significantly reduce damage without introducing harmful chemicals into the soil or water. By combining simple household materials with proven natural attractants, you can capture or deter pests while nurturing a balanced ecosystem that supports growth and productivity.
Choosing Your Materials
Before constructing any trap, gather supplies that are both affordable and eco-friendly. These items will form the foundation of your device, ensuring it remains non-toxic to beneficial organisms and the environment.
1. Container Selection
- Plastic bottles or jars: Clean, transparent containers allow you to monitor catches and refill attractants easily.
- Clay pots: Their porous surface maintains consistent moisture levels for certain baits.
- Wooden boxes: Ideal for larger insects or rodents; ensure no chemical treatments have been applied.
2. Lid and Support
- Mesh or perforated lid: Provides ventilation and prevents rainwater from diluting the bait.
- Stakes and braces: Elevate your trap off the ground to target flying pests like wasps or hornets.
- Hinges or clips: Facilitate easy opening for cleaning and bait replacement.
3. Natural Baits and Attractants
- Fruit peels (banana, apple): Emit strong aromas that attract fruit flies and other sap-sucking insects.
- Yeast mixture: A tablespoon of yeast with sugar water creates fermenting odors irresistible to many pests.
- Essential oils (peppermint, neem): Certain scents can both draw and repel based on concentration—experiment to find the balance.
- Beer or wine: Low-cost fermentation products often used to lure slugs and snails.
Constructing the Trap
A well-planned trap design maximizes capture rates while minimizing unintended harm to beneficial species. Follow these steps to assemble a functional device:
Step 1: Prepare the Container
- Cut an entrance hole: For bottles, slice out a funnel-shaped opening. This “one-way” entry prevents pests from escaping once they enter.
- Sand rough edges: Smooth any sharp borders to avoid injuring insects or small mammals.
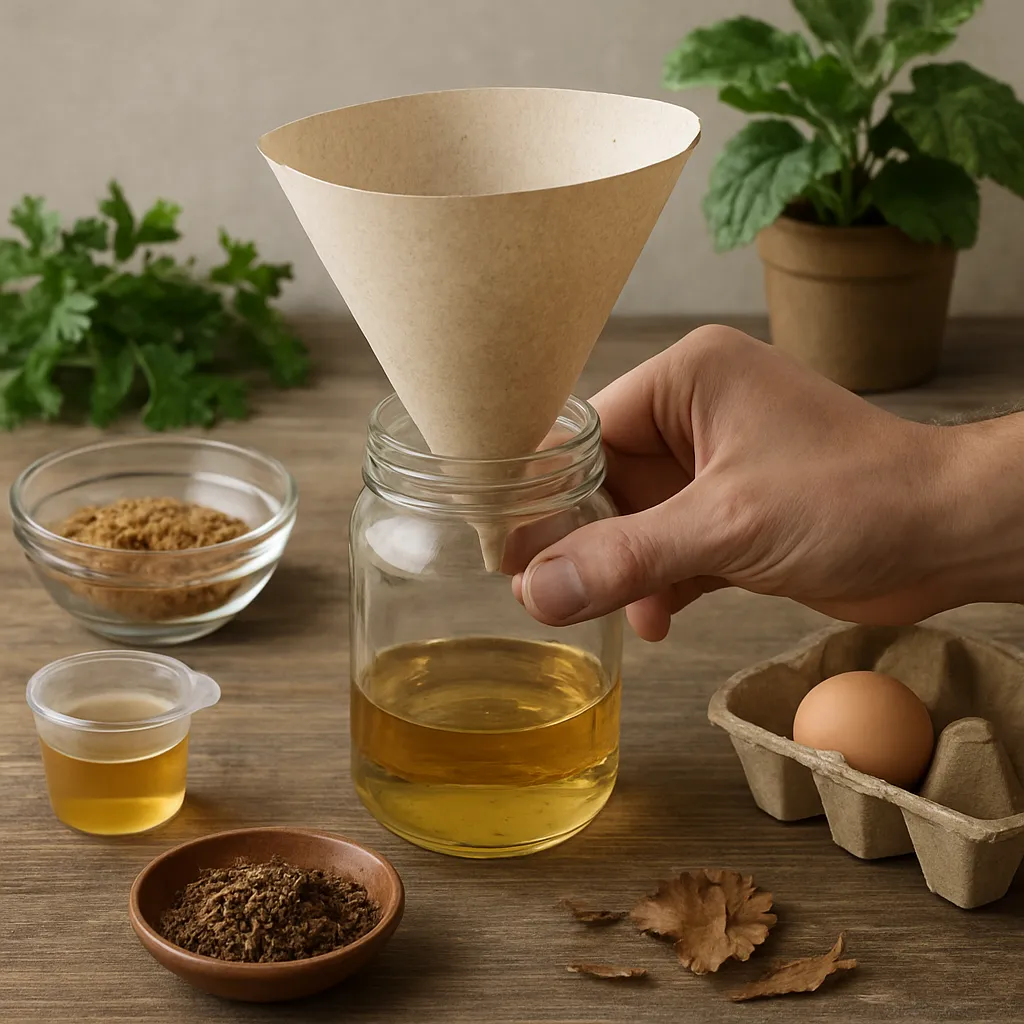
Step 2: Insert a Funnel or Ramp
A plastic funnel or cardboard cone directs pests toward the bait and blocks the exit. Position it so the narrow end dips into the liquid or bait chamber by at least an inch.
Step 3: Add Attractant and Lure
- Combine your chosen natural bait components in a ratio that releases consistent aroma over several days.
- Fill the bottom of the container with 1–2 inches of bait solution, ensuring the funnel’s tip is submerged but not completely flooded.
Step 4: Seal and Ventilate
Secure the lid with mesh or small vents. Adequate airflow maintains the scent plume while preventing mold buildup. Avoid airtight seals that can cause fermentation gases to burst the trap.
Optimal Placement and Timing
Even the best trap yields poor results if positioned incorrectly. Strategic placement addresses pest behavior patterns, local climate, and crop vulnerability.
Site Selection
- Near high-risk areas: Surround fruit trees or vegetable beds with a perimeter of traps to intercept pests before they reach your plants.
- Shaded versus sunny spots: Some insects prefer warm, well-lit zones; others thrive in cool shade. Adjust placement according to your target species.
- Wind considerations: Strong breezes dilute attractants. Position traps leeward of plant rows to maintain a steady scent trail.
Seasonal Timing
- Early spring: Deploy before pest populations peak, disrupting breeding cycles right away.
- Mid-summer: Monitor trap counts weekly; refresh bait when captures decline.
- Late harvest: Maintain traps until all produce is collected to minimize overwintering populations.
Tip: Record capture numbers in a notebook or spreadsheet to evaluate trap performance and adjust bait recipes over time.
Maintenance and Monitoring
Routine care ensures your traps remain effective and sustainable throughout the growing season. Consistent monitoring also supports broader integrated pest management goals.
Cleaning Schedule
- Every 5–7 days: Empty and sanitize the container with warm, soapy water. Rinse thoroughly to remove any residue that might deter pests.
- Monthly deep clean: Inspect and replace worn funnels, mesh screens, or sealing gaskets.
Bait Refreshment
Most fermentation-based lures lose potency after a week. Replace or replenish bait sooner if rainfall or intense heat dilutes the solution.
Data Collection
Track daily or weekly capture numbers by species. This data helps you gauge which traps perform best, which baits are most effective, and whether certain pests are developing resistance to specific lures.
Enhancing Biological Control
While traps form the frontline of an organic pest management strategy, pairing them with natural predators can deliver superior results. Encourage beneficial insects like ladybugs, lacewings, and parasitic wasps by planting companion species (e.g., marigolds, dill, or alyssum) alongside trap arrays. This dual approach not only reduces pest populations but also bolsters overall plant health.
Habitat Improvement
- Provide water sources: Shallow dishes with pebbles give pollinators and predators a safe hydration spot.
- Install insect hotels: Bundles of hollow reeds or drilled wood logs attract beneficial wasps and solitary bees.
- Maintain ground cover: Mulches and low-growing plants create shelter for spiders and ground beetles that prey on soil-dwelling pests.
By integrating thoughtfully designed organic traps with habitat-enhancing practices, you build a robust defense system that aligns with sustainable agriculture principles. This approach minimizes chemical inputs, supports thriving wildlife populations, and promotes healthier, more resilient crops.