Building a robust farm composting system can transform agricultural waste into a valuable resource, improving soil health and reducing environmental impact. This guide explores practical steps, from selecting the ideal site to managing the composting process, ensuring you unlock the full potential of organic materials on your farm.
Selecting the Perfect Composting Location
Choosing an appropriate site sets the foundation for a successful compost operation. Ideally, the location should be within easy reach of crop fields and livestock areas, minimizing transport time. Look for a spot that receives partial sunlight—enough to keep the pile warm but not so much that it dries out quickly. Ensure the ground is level to prevent runoff, and avoid low-lying areas prone to waterlogging during heavy rain.
Sustainable farming practices begin with careful planning, and site selection is no exception. Proper placement helps maintain a stable temperature inside the pile and promotes uniform moisture levels, crucial factors for effective decomposition. A slight slope can facilitate drainage, preventing excess water from drowning beneficial microorganisms.
Designing and Building the Composting Structure
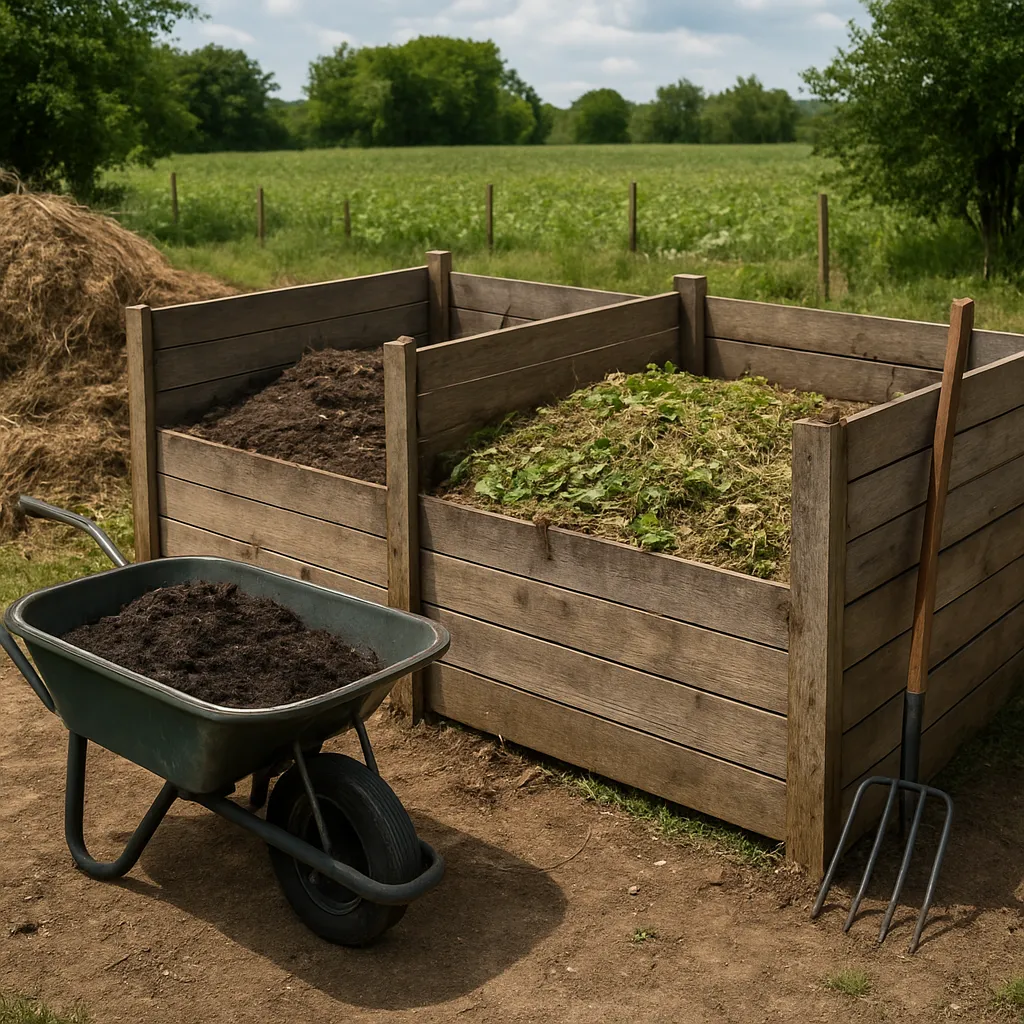
A well-designed composting structure protects materials from excessive rain, pests, and wind. Depending on farm size and budget, options range from simple open windrows to enclosed bins with three-chamber systems. Consider the following design elements:
- Material for Walls: Wood pallets, concrete blocks, or sturdy plastic modules can form perimeter walls.
- Base Layer: Incorporate a coarse foundation of twigs or straw to improve aeration and drainage.
- Roofing Options: A simple tarp can protect against heavy rainfall, while permanent roofs extend equipment life.
- Accessibility: Leave space for machinery or tools to turn and move compost easily.
Below is a quick comparison of common designs:
- Windrow Methods: Ideal for large-scale operations, allowing for mechanized turning.
- Three-Bin Systems: Offers the ability to manage fresh inputs, active compost, and curing separately.
- Static Bins: Good for small farms; require less labor but may need supplemental aeration pipes.
Assembling the Perfect Compost Pile
For rapid and efficient breakdown, layer materials to create a balanced environment. Follow the Carbon-to-Nitrogen (C:N) ratio principle, aiming for roughly 25–30 parts carbon to 1 part nitrogen. Typical carbon sources include straw, leaves, and wood chips. Nitrogen inputs come from green crop residues, manure, and food scraps.
Layering Strategy
- Start with a 6–8 inch layer of coarse carbon material to form a porous structure.
- Add a 3–5 inch layer of nitrogen-rich components like fresh manure or green clippings.
- Alternate layers until you reach a pile height of 4–5 feet.
- Top the pile with a thin layer of finished compost or soil to introduce beneficial organisms.
Sprinkle water between layers to maintain moisture without drenching. The pile should feel like a wrung-out sponge, not dripping wet. Good management at this stage sets the stage for success, ensuring internal heat builds to levels that kill pathogens and weed seeds.
Monitoring and Maintaining Optimal Conditions
After assembly, the ongoing task is to monitor key variables for maximum efficiency. Rotate or turn the pile every 7–10 days to replenish oxygen, redistributing heat and moisture. Thermometers or temperature probes can help track internal temperature—aim for 130–150°F for pathogen reduction.
Key Maintenance Steps
- Temperature Checks: Record readings daily until the peak is reached, then weekly during curing.
- Moisture Control: Add water or dry materials as needed to keep humidity at around 50–60%.
- Aeration Techniques: Use pitchforks or mechanical turners to open up dense zones.
- Pest Prevention: Cover bins with fine mesh or secure lids to keep out rodents.
Maintaining an ideal environment fosters thriving microorganisms and accelerates decomposition. If the pile cools prematurely, reintroduce fresh material or turn more frequently. Consistency leads to faster curing times and better nutrient retention.
Troubleshooting Common Composting Challenges
Even experienced farmers encounter occasional hurdles. Use the tips below to keep your system on track.
Odor Issues
- Smell of Ammonia: Indicates excess nitrogen—add more carbon materials like straw or sawdust.
- Rotten Odor: Piles too wet or compacted—turn to enhance aeration and add dry, porous materials.
Slow Decomposition
- Pile Too Dry: Water lightly and cover to retain moisture.
- Insufficient Heat: Improve structure by adding more active material and increasing pile size.
- Lack of Biodiversity: Introduce finished compost or soil from healthy compost to boost microbial biodiversity.
By addressing these issues promptly, you can maintain steady progress toward a nutrient-rich end product.
Applying Finished Compost to Your Fields
After 2–4 months of active composting and curing, your material becomes a dark, crumbly resource ready for application. Spread 1–3 inches across fields or work it into the soil prior to planting. This practice improves soil structure, enhances water retention, and supplies a slow-release source of nutrient-rich organic matter.
Integrate composting into crop rotations and livestock management plans to create a closed-loop system. By turning on-farm waste into valuable amendments, you promote healthier plants, reduce reliance on external fertilizers, and contribute to long-term farm resilience.