Implementing a low-cost irrigation system can transform small gardens and larger agricultural plots by ensuring consistent moisture levels, reducing manual labor, and supporting sustainable growth. With careful planning and a handful of readily available components, you can tailor a setup that meets your specific water distribution needs without straining your budget. Below you’ll find practical guidance on designing, sourcing materials, assembling, and maintaining an efficient irrigation network.
Planning Your Irrigation Layout
Successful irrigation begins long before any pipes are cut. A well-thought-out design saves water, time, and money. Follow these steps to create a routing plan that maximizes coverage and minimizes waste.
Assessing Soil and Water Needs
Different crops and soil types demand varying levels of moisture. Sandy soils drain quickly, requiring more frequent watering, while clay blends hold moisture longer. Conduct a simple test:
- Dig a 12-inch hole and fill with water; note how long it takes to drain.
- Observe plant health over a week to gauge existing moisture retention.
- Mark areas prone to puddling or drought stress.
Use this information to position your zones and schedule irrigation cycles.
Mapping the Garden or Field
Create a scaled sketch of your plot, indicating raised beds, rows, and existing obstacles such as trees or structures. Plot the main water source—whether a municipal spigot, rainwater tank, or submersible pump in a well. Draw primary lines and secondary branches, ensuring each plant group lies within effective watering radius.
Selecting Materials and Tools
Choosing the right components guarantees durability and consistent performance. Here’s a checklist of essentials:
- PVC or polyethylene tubing (½”–1″ for mains; ¼” for drip lines)
- Drip emitters or micro-sprinklers for precise delivery
- Pressure regulator and backflow preventer to ensure reliability
- Filter assembly to guard against clogging
- Hose connectors, tees, and elbows for layout configuration
- Stakes or clamps to secure lines
- Optional: timer or controller for automated cycles
To keep costs down, consider repurposing used hoses or purchasing surplus fittings from salvage yards. Prioritize components that balance budget-friendly pricing with proven longevity.
Understanding Component Roles
Each piece contributes to overall performance:
- Filters: Prevent debris from reaching emitters
- Regulators: Maintain optimum pressure (typically 20–30 PSI for drip systems)
- Emitters: Control flow rate (0.5–2 GPH per emitter)
- Main lines: Deliver water under pressure from the source
Step-by-Step Assembly Process
Follow these stages to construct your irrigation system smoothly. Preparation and precision at each step are crucial for a customization that aligns with your planting scheme.
1. Laying the Main Pipeline
- Measure and cut the primary tubing to span from the water source to the farthest point of your garden.
- Install a filter and pressure regulator as close to the source as possible.
- Secure the main line with stakes to prevent sagging. Ensure gentle slopes to avoid air traps.
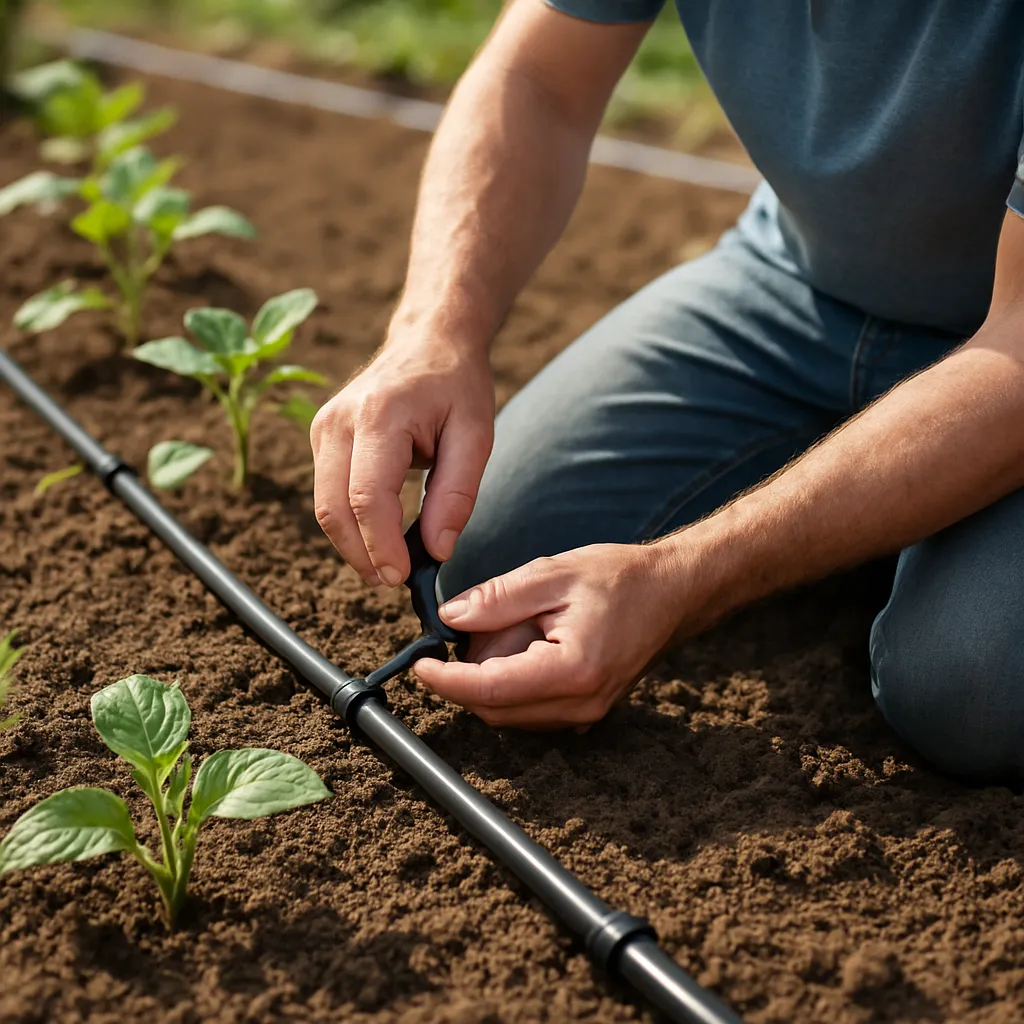
2. Branching Off with Secondary Lines
- Attach tees or elbows at designated points along the main line.
- Run ¼” drip tubing to rows or bed sections, keeping runs shorter than 50 feet to maintain consistent pressure.
- Fix tubing with ground stakes every few feet to hold position.
3. Installing Emitters and Sprinklers
- Punch holes at marked intervals and insert drip emitters, or snap on micro-sprinkler heads.
- Adjust emitter flow rates based on plant water requirements—tomatoes may need more than herbs, for example.
- Test each line by slowly opening the water source and checking for leaks or blockages.
4. Automating with Timers and Sensors
For hands-off operation, connect a programmable timer to the control valve. Enhance water savings by adding a soil moisture sensor that prevents watering when moisture thresholds are met. This level of water-conservation control can reduce usage by up to 30%.
Maintenance and Optimization
Routine care extends system life and ensures consistent performance. Set aside time each season for these tasks:
Flushing and Cleaning
- Open end caps on drip lines and flush at high flow to remove sediment.
- Clean or replace filter cartridges every two months, more often if water is turbid.
Leak and Damage Repair
- Inspect connections for cracks or loose fittings.
- Use repair couplings or replace sections of tubing showing wear.
Seasonal Adjustment
As temperatures change, so do plant needs. In spring and summer, increase watering frequency; taper off in cooler months. Adjust emitter placement when rotating crops. Proper distribution allows each plant to access adequate moisture without overwatering.
Scaling and Expansion
One advantage of a modular drip setup is easy expansion. Simply add more branch lines or install new emitters to accommodate garden growth. With basic tools and fitting supplies on hand, you can upgrade in stages without major overhauls.
A thoughtfully designed and maintained irrigation system not only conserves precious resources but also elevates crop health and yields. By leveraging affordable materials, strategic planning, and simple maintenance routines, you can enjoy a highly flexible, durable watering solution tailored to your agricultural ambitions.