Creating a simple compost bin can transform everyday kitchen scraps and yard waste into a valuable soil amendment. By following a few basic steps, gardeners of all levels can harness the power of microorganisms and produce nutrient-rich material to improve plant health, reduce waste, and promote a more sustainable gardening practice.
Choosing the Right Location and Materials
Selecting an appropriate spot and gathering the correct items are essential first steps:
Ideal Site Selection
- Pick a partially shaded area to regulate temperature and prevent excessive drying.
- Ensure the site has good drainage to avoid waterlogging that can hinder decomposition.
- Place the bin close to your kitchen or garden to make adding materials convenient.
Bin Options and Materials
There are several inexpensive ways to build a compost container. Consider one of these:
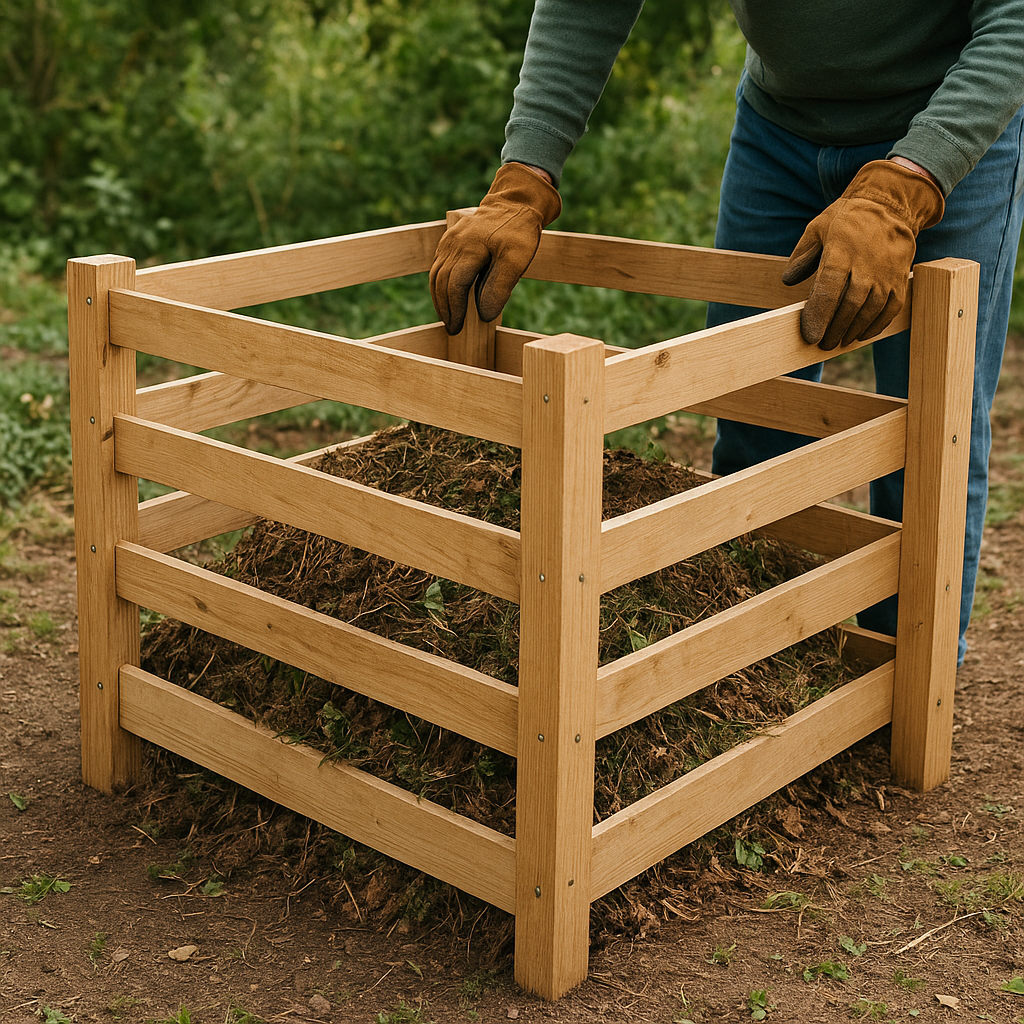
- Wooden Crate – Use untreated wood pallets or build a simple wooden box with slats for airflow.
- Plastic Bin – Drill holes in a sturdy trash can to allow for aeration.
- Wire Mesh Cylinder – Roll wire fencing into a cylinder shape and secure the ends; this option is highly breathable.
- Converted Barrel – A food-grade plastic barrel turned on its side, with holes at regular intervals, makes a compact tumbler.
Constructing Your Compost Bin
Building a bin is straightforward. The following steps will help you assemble a functional composting unit:
Step 1: Preparing the Base
- Clear the ground of grass and weeds. This improves contact with soil-dwelling microorganisms.
- Lay down coarse material such as small branches or straw to enhance drainage and airflow at the bottom.
Step 2: Building the Walls
Depending on your chosen design:
- Wooden crate: Nail slats with 1–2-inch gaps between boards to allow air to circulate.
- Plastic bin: Drill ½-inch holes every 4 to 6 inches around the sides and bottom.
- Wire mesh: Secure mesh edges with zip ties or strong wire; leave the top open for adding materials.
Step 3: Creating Access
- Install a hinged door or removable panel at the front low side for easy compost removal.
- Include a lid or cover to keep out heavy rain and pests while retaining heat.
Maintaining and Using Your Compost
Proper maintenance accelerates decomposition and produces a consistent, high-quality end product:
Balancing Ingredients
Successful composting relies on the right ratio of carbon-rich “browns” to nitrogen-rich “greens.” Aim for roughly a 3:1 proportion by volume:
- Browns: Dry leaves, straw, shredded cardboard, paper
- Greens: Vegetable scraps, fresh grass clippings, coffee grounds
Too much carbon slows down the process; too much nitrogen can create odors.
Turning and Aeration
- Use a pitchfork or compost aerator to turn the pile every 1–2 weeks.
- Turning introduces oxygen, which is vital for the microorganisms that break down materials.
- Ensure internal temperatures reach between 120°F and 160°F to kill weed seeds and pathogens.
Monitoring Moisture Levels
The bin should feel like a wrung-out sponge—moist but not dripping. If too dry, add water or more greens. If too wet, mix in extra browns and turn more frequently to increase evaporation.
Layering Techniques
Construct your pile by alternating layers of different materials:
- Start with a base of coarse browns for drainage.
- Add a thicker layer of greens.
- Cover with a thinner layer of browns to minimize odors and flies.
- Repeat until bin is nearly full, finishing with browns on top.
Harvesting Finished Compost
After 2–4 months of regular care, the lower portions of the pile will transform into dark, crumbly compost. Use a spade to remove finished compost from the bottom or open your access door and scoop it out.
Applying Compost to Your Garden
Once you’ve produced mature compost, integrate it into your gardening routine:
Soil Amendment
- Work 1–2 inches of compost into existing garden beds to improve soil structure and fertility.
- For new beds, mix compost and native soil at a 1:1 ratio before planting.
Mulching
- Spread a 1–3-inch layer of compost around plants, keeping it away from direct stem contact.
- This mulch retains moisture, suppresses weeds, and gradually releases nutrients.
Container Gardening
- Combine equal parts of compost, potting soil, and perlite for nutrient-rich potting mixes.
- Ensure good drainage to prevent waterlogging in pots.
Additional Tips
- Keep a small kitchen pail with a lid to collect daily scraps for quick transfer to the compost bin.
- Avoid adding meat, dairy, diseased plants, and pet waste to prevent pests and odors.
- Chop or shred larger items to accelerate breakdown.
By following these steps and maintaining proper balance of ingredients, your compost bin will become a reliable source of organic matter, transforming waste into a valuable resource that enriches soil, promotes healthy plant growth, and supports an eco-friendly garden ecosystem.